New Brand & Identity Concept for a Bank

Hello there! Welcome back to Jennifer’s Visual Design Blog section. I know I have not been able to publish here lately due to some overwhelming projects. Since the semester has come to an end, and I have room to breath now. I wanted to show a few of the projects that I have been working on throughout my college semester.

This particular project is aimed toward establishing a new brand and identity for a small town bank that I have known for years. This particular bank is not quite up-to-date with today’s technology that is provided within our society. I started this project in aims to help understand the key benefits towards keeping up-to-date with the everyday standards within the technological world that we live in. I started from scratch with a new color palette, and then worked my way towards making this bank mobile worthy.  Within this blog post I am going to show what elements I presented within different outlooks, and show you what the overall identity would be presented for this brand.

Awards in:

Silver : Logo & Icon Design : American Advertisement Federation of Fort Wayne : February 1st, 2018


Logo


Brochure


Website & App


Credit Card Concept

5 Steps Towards Landing a Design Job

5-steps-towards-landing-a-design-job-pinterest


Hi there! Welcome back to this week’s blog post about the 5 Steps Towards Landing A Design Job. I am currently in college, and aiming towards getting my Bachelors Degree in Visual Communication & Design with focuses in Graphic Design and Photography. With this post I am trying to help the future college students that are focusing within the same degree the help in taking the next steps towards achieving the career goals, and what it will take to make their dreams come too.

These are the steps I have learned throughout my process towards achieving my career dreams as well. If there is any steps that I am missing, please leave me a message within the comments and we can discuss the topic more at a further time. I am open to any advice that anyone is willing to give. So, I hope this helps anyone that is needing some advice towards the next steps within the design career.


Step One: Look Professional

Professional appearance is a key element towards taking the step towards a successful career jump. Look your best with a great outfit that fits your personality, good hygiene, and nice smelling cologne/perfume but do not over do it! Keep a professional appearance at all times during your interview, which will make or break it. Also during anything with business involved, keep it professional and proper.


Step Two: Artist Statement

Yep, this step is one of the roughest parts of being in this career field. *laughs* A artist statement is all about selling yourself to whomever you are trying to establish a position towards. Some of the key elements that need to be presented within your artist statement are:

  •                 Why are you an artist?
  •                 What are you doing?
  •                 What are you passionate about?
  •                 What do you want to pursue the rest of your life?

Make sure to keep your statement is between two sentences or about a paragraph in length.


Step Three: Design Your Voice

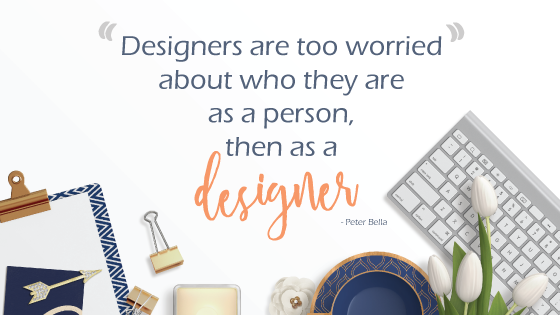
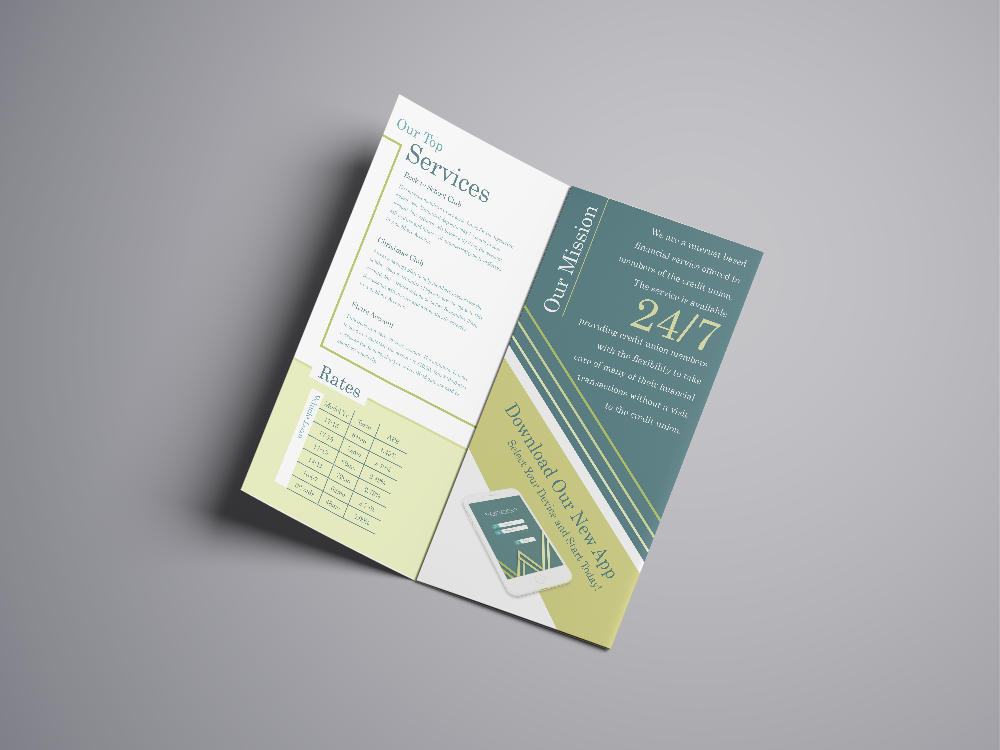
You are going to need your own voice, which signifies you as a designer. Identify your voice with creating a personalized theme that identifies you, which means to Brand Identify Yourself! Design a digital portfolio and establish yourself a personalized logo that represents you. Be creative and original with it, or even try using just your initials for a creative spark. Keep your eye out on color themes that are representative of you which can be through a piece of art, a photograph, or a design scheme with a certain color pallet.

When you establish your final concepts put together, remember to establish these elements towards other business aspects as well such as any social media that you present your work upon, business cards, and your paper resume and portfolio.

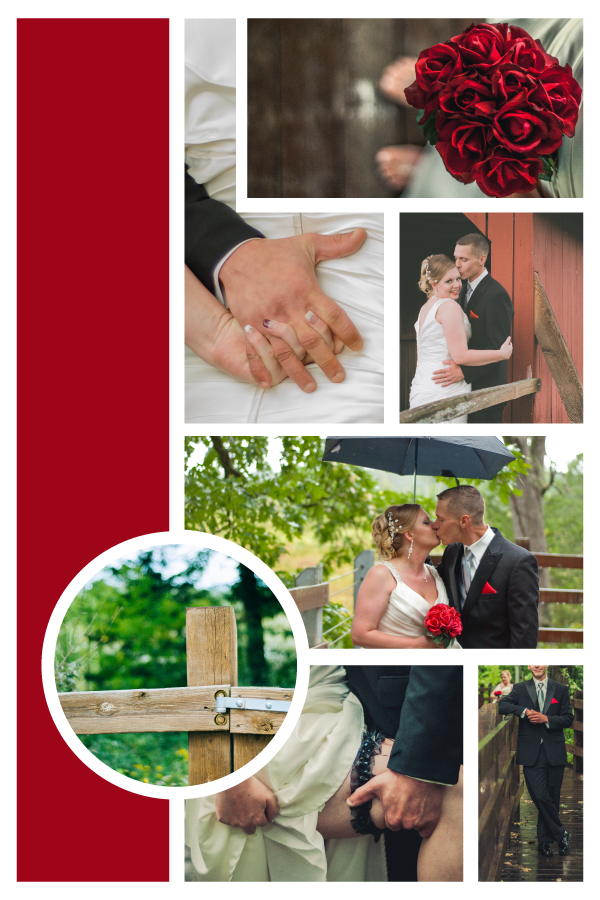
Also, make sure to incorporate your BEST pieces into your portfolio! Do not pick anything that took you five minutes to create, or is well under the craftsmanship mark. Companies want to see your best work, and with that you need to pick and choose between all of your pieces of art, design, or photograph pieces and choose your most creative, eye catching, and composition towards your pieces. If you need more help towards finding the best photographs that apply towards your portfolio, take a look at my post about the 12 Elements of a Remarkable Photograph to help you make the final choices for your portfolio.


designer-quote


Step Four: Research, Research, and more Research

Yep, research your butt off for where you fit in within the design world. Try and figure out if you are interested in:

  • Being located within a big city, smaller city, or even a small town environment.
  • Work within a small business environment, or a larger big firm.
  • Maybe you are more of a hip and funky type of person, or maybe more simple and quaint.


Also, look into FOUR different places within different regions that you could possibly see yourself being employed and/or possibly establish a career.

  • Start by looking locally within your community, or a nearby city which for me would be Fort Wayne, IN or Indianapolis, IN.
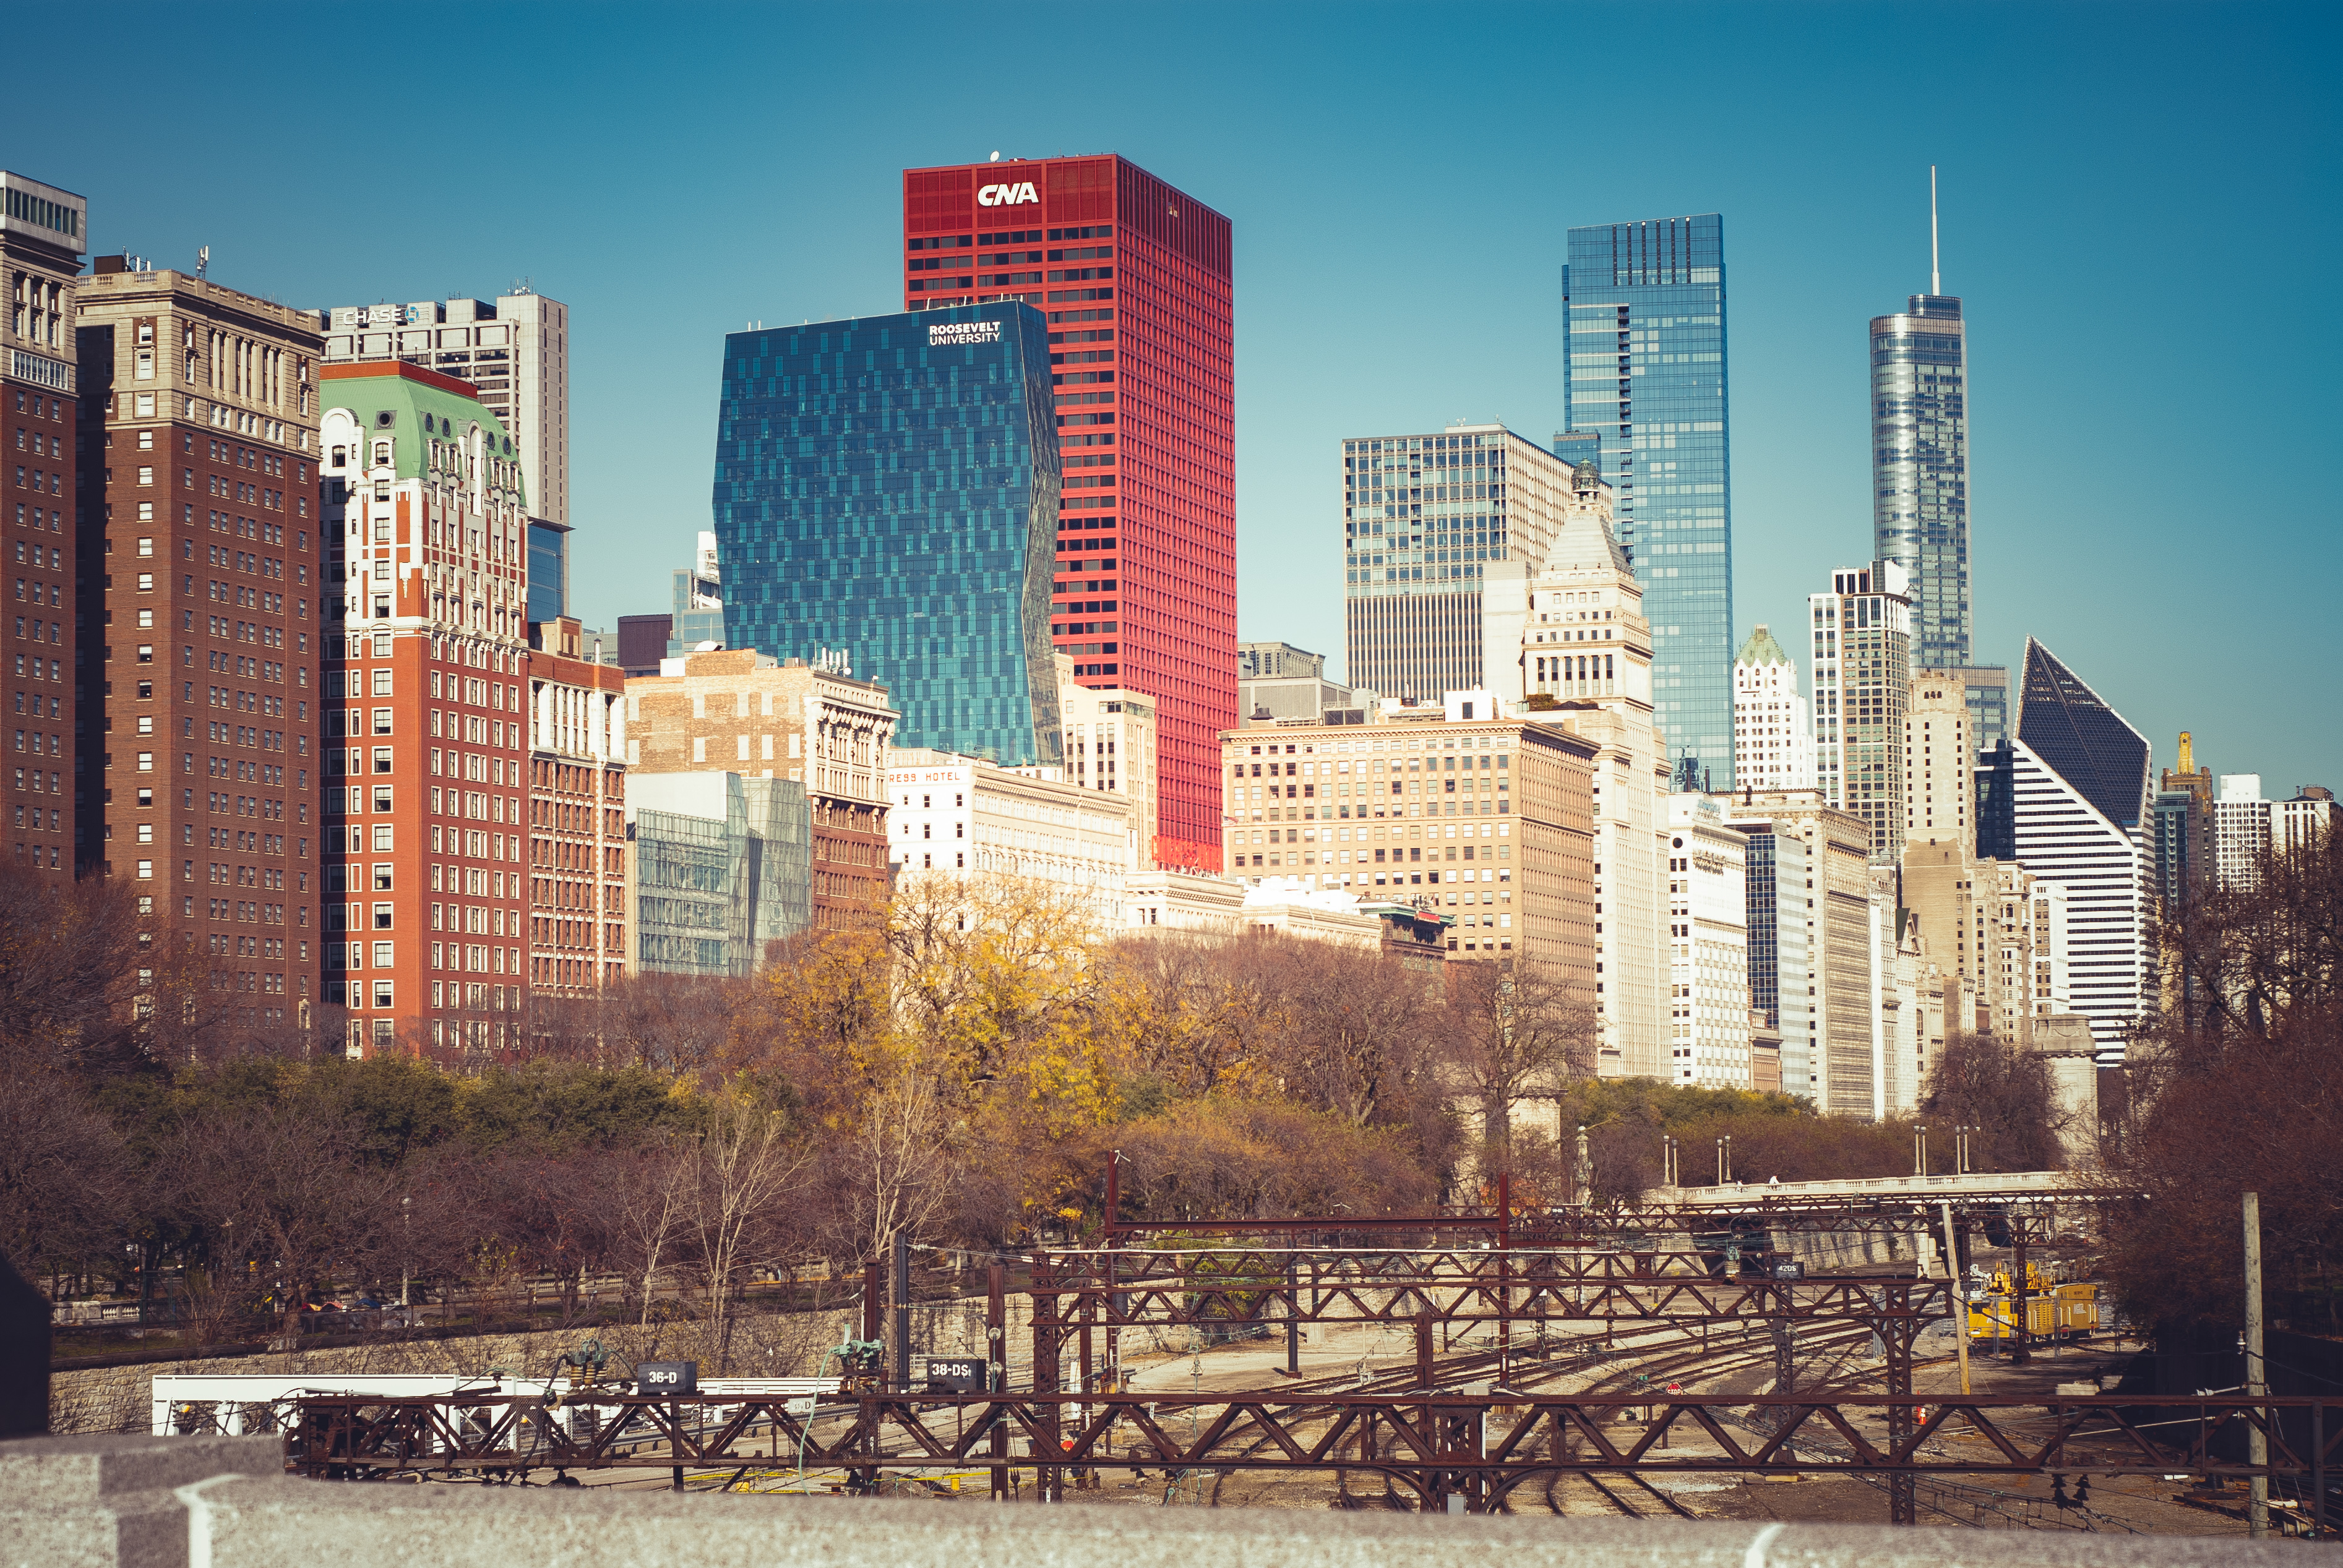
  • Next, go more of a regional aspect such as a city that is more than 2 hours away, which for me would be Chicago, IL, Detroit, MI, or Columbus, OH.
  • Then lastly, go national or out of your state of origin. Which for me would be California, Colorado, Alabama, and so on… Heck maybe even Hawaii. *laughs*
  • Take a bigger step and you can go internationally. Who would not want to work in Paris or London? The transition would be an interesting process, but nothing wrong with living your life to the fullest!

Research these companies, organizations, or businesses through their websites and figure out what type of work they provide, their clientele base, background of the cities/towns they are located in, and very importantly who to contact when the time comes!


Step Five: Work Experience

This step is probably one of the best steps within blog post. Having job experience is a big thing when it comes towards establishing a place within the design world. Try and land yourself an internship (paid or unpaid), work-study, a part-time gig, or try out some freelancing as well. Incorporate your work from your experience into your portfolio, so when clients or employers go to look at your portfolio they see what you are capable of.

Having this experience within your portfolio, and resume is a great plus side towards employers when it comes to that time to apply or cold call companies for a potential job or gig. Apply your resume upon your portfolio webpage within your about page – Preview of Mine – so after they read about you and your work they can go ahead and instantly download your resume, and possibly give you a call the next day! YAY!


Thank you for reading this weeks blog, and I hope this helps out anyone who is in the need for furthering their career within the design world. Have a great week!

15 Free Stock Photos

15-free-stock-photos-pinterest-pin

Hello again! Welcome back to this weeks blog, and I want to apologize for last weeks missed blog post due to a nasty cold virus that swept through my entire home. This week I am better then ever, and decided to give out more FREE Images! Yes, that is right free stock images for round number two! I took a recent day trip to Chicago, Illinois and decided to take along my camera and capture some fantastic images while I was within the area.

All images are 300 DPI (Dots Per Inch), High Resolution, and edited. They are free for personal and/or commercial use as well, so I hope you enjoy them as much as I did when I was taking them. Also, do not forget to visit my recent Free Stock webpage – Jennifer’s Free Stock – that has a wide variety of free images (even mobile imagery) that is yours for the taking.

Thank you for reading this weeks post, and I hope to see you next week!


jennifers-visual-design-free-stock-001
Download Here


jennifers-visual-design-free-stock-002
Download Here


jennifers-visual-design-free-stock-003
Download Here


jennifers-visual-design-free-stock-004
Download Here


jennifers-visual-design-free-stock-005
Download Here


jennifers-visual-design-free-stock-006
Download Here


jennifers-visual-design-free-stock-007
Download Here


jennifers-visual-design-free-stock-008
Download Here


jennifers-visual-design-free-stock-009
Download Here


jennifers-visual-design-free-stock-010
Download Here


jennifers-visual-design-free-stock-011
Download Here


jennifers-visual-design-free-stock-012
Download Here


jennifers-visual-design-free-stock-013
Download Here


jennifers-visual-design-free-stock-014
Download Here


jennifers-visual-design-free-stock-015
Download Here


whole-bundle-of_stock-images
The Whole Bundle 

Adventures in the Field

Hello again, and welcome back to this weeks blog post! This week I am showing you a preview from a recent photo shoot that I was able to establish with a friend of mine. I have always been interested in pursuing a photo shoot within a corn field from a few of my inspirational sites. So after a few weeks of debating this creative thought, and the ultimate steps that it took to find a gorgeous model I finally made it happen. Yay is right. *laughs*

I was even able to capture a few shots of her fellow model/ canine companion that was just as gorgeous, and playful. If you are interested, her canine companion is an all white Husky with beautiful blue eyes that helped with capturing a few of these images. Below are a few of the images that I was able to produce from this wonderful photo shoot, and there is also an attached Pin-able image for sharing on Pinterest as well!

Thank you for reading this weeks blog post, and I hope to see you next week!


adventures-in-the-cornfield-pinterest


How To Properly Photograph a Vehicle for Re-Sale

how-to-properly-photograph-a-vehicle-for-resale-pinterest


Hi again! Welcome back to Jennifer’s Visual Design’s blog this week, and I am going to show you How-To Properly Photograph a Vehicle for Re-Sale. I got this idea from viewing a few craigslist pages of vehicles trying to be sold on the online market. Which comes in handy due to one of my jobs as a photographer at Kelley Automotive in Fort Wayne, IN.

You can do this photo process on any sort of device that has a form of camera attached to it such as a cell phone, tablet, digital camera, or a DSLR camera. Most individuals take photos with their phone to make the process easier to transfer from phone memory too whatever marketing platform you are trying to sell your vehicle on.

I will be showing you this process with photos I have already taken in an enclosed environment at my work for better quality, but this process will work in whatever environment you are in. To help with the photo taking process, and to attract more viewers look into washing, waxing, and detailing your vehicle before capturing images for re-sale.


How To Steps

Starting Step: Start by photographing the front passenger side of the vehicle to show the viewer a outside view of the vehicle first.

20161104_123906


Second Step: Proceed to go into the inside of the vehicle to photograph the inside, starting with the center council to capture the display in reverse mode, and then on home mode. Then go on to capture the heating elements, and if the vehicle is a 4×4 then capture the push button and/or stick shift to show the viewer the options available.


Step Three: Move your camera back far enough to capture the entire steering wheel and part of the center council, then move in closer to capture any of the steering wheel amenities buttons (cruise control, volume control, and etc). Then place your camera near the horn to capture the dash display so viewers can see the mileage, the entire set up of the display, and if any lights are on.


Step Four: Step out of your vehicle, and then move to the front of the vehicle to capture a 180 degree area of your vehicle by capturing the front of the vehicle, then the front driver’s side, the back driver’s side, the entire back of the vehicle, and then the back passenger side of the vehicle.


Step Five: Move back to the front of the vehicle and then capture the front driver’s side tire so show your viewer the amount of tread that is still applied towards the tire. Then capture the inside of the vehicle starting with the front driver’s side, then capture an image of the inside of the door to show the viewer the amenities. Duplicate this process on the passenger side, back passenger side, and back driver’s side. Do not forget to capture extra amenities on the inside such as dvd players, remotes, headphones, and even the third row seat!


Step Six: Move to the back of the vehicle and if you have a car with a trunk then try and capture the best you can of the size and inside as you can. If you own a SUV/Van then open up hatch and capture the inside from the rubber seal in, then capture the button (if applicable) that automatically shuts your hatch. If you own a truck, then unlatch the tailgate and capture the inside of the bed of the truck. Also if you’re SUV, Van, or Truck has a hitch then capture an image of it to show the viewers the individual hook up’s and what condition it is in.


Step Seven: Move back to the front of the vehicle, lift the hood, and capture an image of the motor. If you have any extra amenities that are under the hood make sure to capture them also for the viewer’s information.

20161104_124642


Step Eight: Last but not least, capture an image of the keys. Your viewer’s like to see the keys to make sure that you have them, and the options that are provided upon the key fob (if you have that option).

20161104_125536


Extra Input: Some of the extra options that you can provide for your viewer that will help encourage them to possibly purchase your vehicle would to apply a video of the vehicle running so the viewer can hear the engine and exhaust conditions of the vehicle. If you own a 4×4, provide a video of the vehicle tow show that what condition that 4×4 transfer case would be in.


I hope this week’s How-To steps were helpful and informative towards your next re-sale. Please leave a comment on any improvements, and/or questions. Hope to see you next week, Thanks!

10 Free Stock Photos

10-free-stock-photos-pinterest


Hello again, and welcome back to this week’s blog post! I have a great surprise for you this week with giving out 10 FREE stock photos that I personally have taken. All images are around 300 DPI (Dots per Inch) and are also around 3800 x 2500 PPI (Pixel per Inch).

Please feel free to use these images within blog posts, web design, commercial use, upon social media, and/or whatever purpose that you have a need for them. If you do plan on posting within a social media form, please tag me within the published form.

Instagram: @jennifers_visual_design

Twitter: @JennVisualDeign

Facebook: @JennifersVisualDesign

I know there is a wide variety of options for image choices within this group, but if you are looking for a more focused look please leave a comment below. If not, keep in touch and a close eye out for more free stock photos within the near future. Thanks!


all-free-stock-photos
Download Here


free-stock-jennifers-visual-design-01
Download Here


free-stock-jennifers-visual-design-02
Download Here


free-stock-jennifers-visual-design-03
Download Here


free-stock-jennifers-visual-design-04
Download Here


free-stock-jennifers-visual-design-05
Download Here


free-stock-jennifers-visual-design-06
Download Here


free-stock-jennifers-visual-design-07
Download Here


free-stock-jennifers-visual-design-08
Download Here


free-stock-jennifers-visual-design-09
Download Here


free-stock-jennifers-visual-design-010
Download Here

Jeep Showcase

Hi there!, Welcome back to this weeks blog post by Jennifer’s Visual Design. Today I am showcasing an inspirational photo shoot I was able to accomplish this past week for a possible magazine cover. I am a huge Jeep fan, and in this cover shoot I was able to photograph an astonishing 2015 Jeep Wrangler Sport Unlimited addition with amazing amenities (which is one of my many dream vehicles).  Below are a few of the images I acquired from the shoot that I am pleased to show anyone and everyone.


jeep-wrangler-shoot


Thank you for visiting this weeks blog post, and I hope to see you back again next week!

Mr. & Mrs. Palmer

mr-mrs-palmer

Hi there! Glad to see you back again this week. I want to start out by saying congratulations too Mr. & Mrs. Palmer on their ultimate rainy day wedding, that turned out to be magnificent! The location for their beautiful wedding was a scenic nature preserve that was surrounded by a luscious wooded forest here in Indiana on Route 5.

I am sharing a few of the images that I was able to capture during this lovely rainy day wedding that expresses their over all essence of these two’s wedding day love and bliss.


mr-mrs-palmer-wedd-mood-board


My Simple Tips for Finding Inspiration

inspiration-blog-post


Hi there!,  Welcome back to my blog this week for some more inspiring information towards creating a more enjoyable work environment for your own photo and design world.

This week’s post is about providing tips towards finding inspiration when you are lacking that creative spark, while also helping you discover and network with other amazing bloggers that will help in find a diverse range of new brands. So keep your eyes out for links that will forward you to their blog so you can check out their amazing posts as well!

Here are some of the ways that I find inspiration…


  1. Taking A Break: Entails that I remove myself from my working environment and focus on something completely different. Trying exploring some new activities and/or hobbies that include watching a new show on Netflix, take a long well needed nap, put headphones in a jam to some music, read that intriguing book that has been sitting on your shelf for a while, or for a more artistic approach start sketching in a sketchbook.


  1. Get Moving: Obviously means to stand up and be active. Yes, actually moving and doing some pretty fun activities like going to the gym and getting your sweat on, walking your dog, taking a run or walk at your local park and getting some fresh air, and/or if you live near a more exotic type park like a State or National Park go and take a hike into the wilderness (but please be careful!). Also some of my favorite activities (if you’re near a water source) are camping, kayaking, paddle boarding, canoeing, swimming, and so on and so forth.


  1. Traveling: This is one of my top enjoyments and inspirational activities of all time. I am a huge fan of road trips due to being able to explore a new environment and discover a whole new range of activities and experiences that I would not be able to accomplish in my own town. Going on a cruise to some exotic island (maybe even Alaska), a three day music festival, or taking a plane ride to an international country like Italy, London, or German. Sometimes you don’t have to go that far to get some creative exploration going; places like a local art museum, a local zoo, exploring local farmers markets and downtown stores, or a new coffee shop or eatery.


inspiration-blog-quote


  1. The Internet: Yes, that is right I did say the internet. Sometimes you just need some quick sparks of inspiration due to certain deadlines, timing issues, or more important tasks at hand. My enjoyable internet locations to achieve some quick motivation are Pinterest, StumbleUpon, CreativeLive, Creative Bloq, TEDtalks, and sometimes just simply exploring other bloggers on a variety of Social Medias.


  1. Spending Time with Others: Which can be a wide range of individuals, such as people who are close to the heart as family, children, and a spouse. Also getting out of the comfort zone by associating with others like fellow colleagues, meeting up with old class mates, or having a drink with a close friend.


  1. Have Fun: This is the best advice of all! Don’t be sad, be glad and have a fun time. Creative inspiration never comes from a sad mind, so go listen to a local bar band, enjoy an amazing concert, go eat at an exotic restaurant, cook a favorite meal, make personal color swatches, go to a Wine & Painting class, shop for amazing clothes, anything that gets the mind out of that horrible rut!


  1. Connect: Yep, that is right. Connecting with other bloggers or fellow individuals with different ideas, thoughts, and ways of processing will help establish a new spark for creativity. Fellow blogger White Oak Creative helps establish a blogger link-up that encourages others to participate, connect, and network with other bloggers on ideas that keep them inspired. Check out their page at White Oak Creative  and some other inspirational bloggers also:

Something Good
New Client Magnet
Not Very Obsessed
Blonde in the Button Up
Design for Business
The Actor’s Diet
Sarah Michiko
Clarice Gomes Designs
The Kissing Booth Blog

I hope you enjoyed this weeks post, and thank you for reading.

Don’t forget to follow on Bloglovin!

12 Elements of a Remarkable Photograph


12-elements-of-a-remarkable-photograph


Hi there, this week’s blog post is going to be about the top elements for creating a unique and outstanding photography! I am going to share with you the top twelve elements towards making a remarkable photograph. These elements are defined as necessary parts towards the success of an image.

Well; image, art piece, or photograph that will reveal some means of all of these twelve elements. A visually superior image will reveal obvious consideration of each one of these elements in some sort of visual way.


Impact: is the first view of an image for the first time. Compelling images evoke laughter, sadness, anger, pride, wonder or another intense emotional feeling that an individual gets when viewing the image.

Creativity: original, fresh, and external expression of the imagination of the maker by using the medium to convey an idea, message, or thought.

Technical Proficient: the print quality of the image itself as it is presented for viewing. Retouching, manipulation, sharpness, exposure, printing, mounting, and correct color are some design aspects that speak to the qualities of the over all print.


element-4-composition


Composition: the importantance towards the design of an image, bringing all of the visual elements together to express the over all purpose of the image. Proper composition holds the viewer in the image and prompts the viewer to look where the creator intends. Effective composition can be pleasing or disturbing, depending on the intent of the image maker.

Lighting: the use and control of light—which we talked about in last weeks post on “The Art of Lighting” which refers to how dimension, shape and roundness are defined in an image. The light applied towards an image could be man made or natural, but proper use of it should enhance the image.

Style: is defined in ways as it applies to a creative image. It might be defined by a specific genre or simply be recognizable as the characteristics of how a specific artist applies light to a subject. It can impact an image in a positive manner when the subject matter and the style are appropriate for each other, or it can have a negative effect when they are at odds.

Print Presentation: affects an image by giving it a finished look, which the mats and borders used should support and enhance the image, not to distract from it.


element-8-center-of-interest


Center of Interest: the point or points on an image where the maker wants the viewer to stop as they view the image. There can be primary and secondary centers of interest, but occasionally there will not be a specific center of interest. When the entire scene collectively serves as the center of interest.

Subject Matter: should always be appropriate to the story being told in an image.

Color Balance: is the over all harmony of an image, in which the tones work together to effectively supporting the image and enhance its emotional appeal. Color balance is not always harmonious and can be used to evoke diverse feelings for effect.

Technique: is the approach used to create the image. Printing, lighting, posing, capture, presentation media, and many more are parts of the techniques that can be applied to an image.

Story Telling: the image’s ability to evoke imagination. Each viewer might collect his own message, or read their own story in an image.


Thank you for reading this week, and do not forget to follow on Bloglovin